Quick Response Toolbox: Getting Started
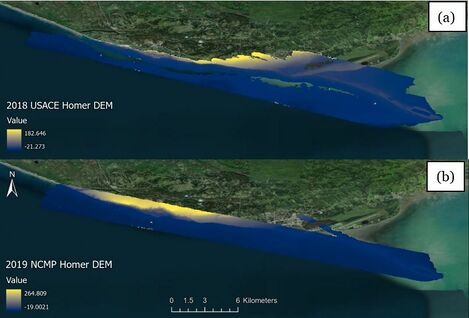
The Quick Response Toolbox steps function like other geoprocessing tools that are native to ArcGIS Pro. To guide the user through this workflow, DEM data collected as a part of the NCMP is leveraged; the data used for this training are a 2018 USACE Lidar DEM and a 2019 NCMP lidar DEM from Homer, Alaska as shown in Figure 2. The data were downloaded from NOAA Digital Coast as a 1-meter resolution DEMs with NAD1983 (2011) UTM Zone 3N horizontal and NAVD88 height (m) vertical coordinate systems.

Important DEM raster considerations for volume change calculations and analysis include resolution and spatial coverage. The tool calculates a volume by zonal statistics based on a 1m-by-1m difference grid but the script can allow any resolution of DEM raster for volume calculation. Zonal statistics of the difference raster include “MIN”, "MAX", "MEAN", "STD", and "SUM". “SUM” represents the sum of all pixel values contained within the difference grid. That value is then multiplied by unit area size within the difference grid while making necessary unit conversions in both vertical and horizontal coordinates. Both the Quick Response and Feature Extraction tools are meant for “bare earth” DEMs but will still function when faced with DEMs that include buildings and trees. The user should be aware of potentially erroneous values around structures, particularly if running the toolbox with only one bare earth product. Also, if a pixel in the difference grid is a Null value, it means either the before or after grid could have a Null value present. Null value pixels are not counted as part of the calculations in Step 7 as the “SUM” “COUNT” and “area” fields only correspond to valid pixels. The toolbox also allows the user to run a separate volume calculation above MHW to adapt for DEMs with missing or spotty bathymetry coverage.
Downloaded DEMs can be imported into the ArcGIS Pro project using the ‘Add Data’ option underneath the ‘Layer’ section of the ‘Map’ tab. The Profile Feature Extraction Toolbox can be added via the ‘Toolbox’ option underneath the ‘Project’ section of the ‘Insert’ tab.
The most recent version of the toolbox is available for download at the main page, JALBTCX.